


This is the day where you treat your beloved car. The poor thing ferries you back and forth all the while keeping you plush and comfy. Isn’t it fair to give something back in return?
Today we’ll show you how you can keep your car at its prime and how you can save your wallet from going bust. So keep on reading this aptly named blog post called “A Comprehensive Guide to Preventive Maintenance.”
Preventive maintenance, by the book consists of scheduled servicing, inspections, and vehicle repairs. Doing this prevents potential problems and it also increases the vehicle’s lifespan. Preventative maintenance is like a health check-up, but for cars. Here, you are looking for any complications that may evolve into grave money pits in the future.
Worry not! This is nothing intimidating. Just some little things you can do at home and at your convenience.
To start with, You will need to get hold of your vehicle’s-
Owner’s Manual
The owner’s manual is your best friend here. It lists all the do’s and don’ts, also providing supplementary information tailored specifically for your vehicle.
As always, GoMechanic advises owners to read the manual carefully before attempting any maintenance on their car
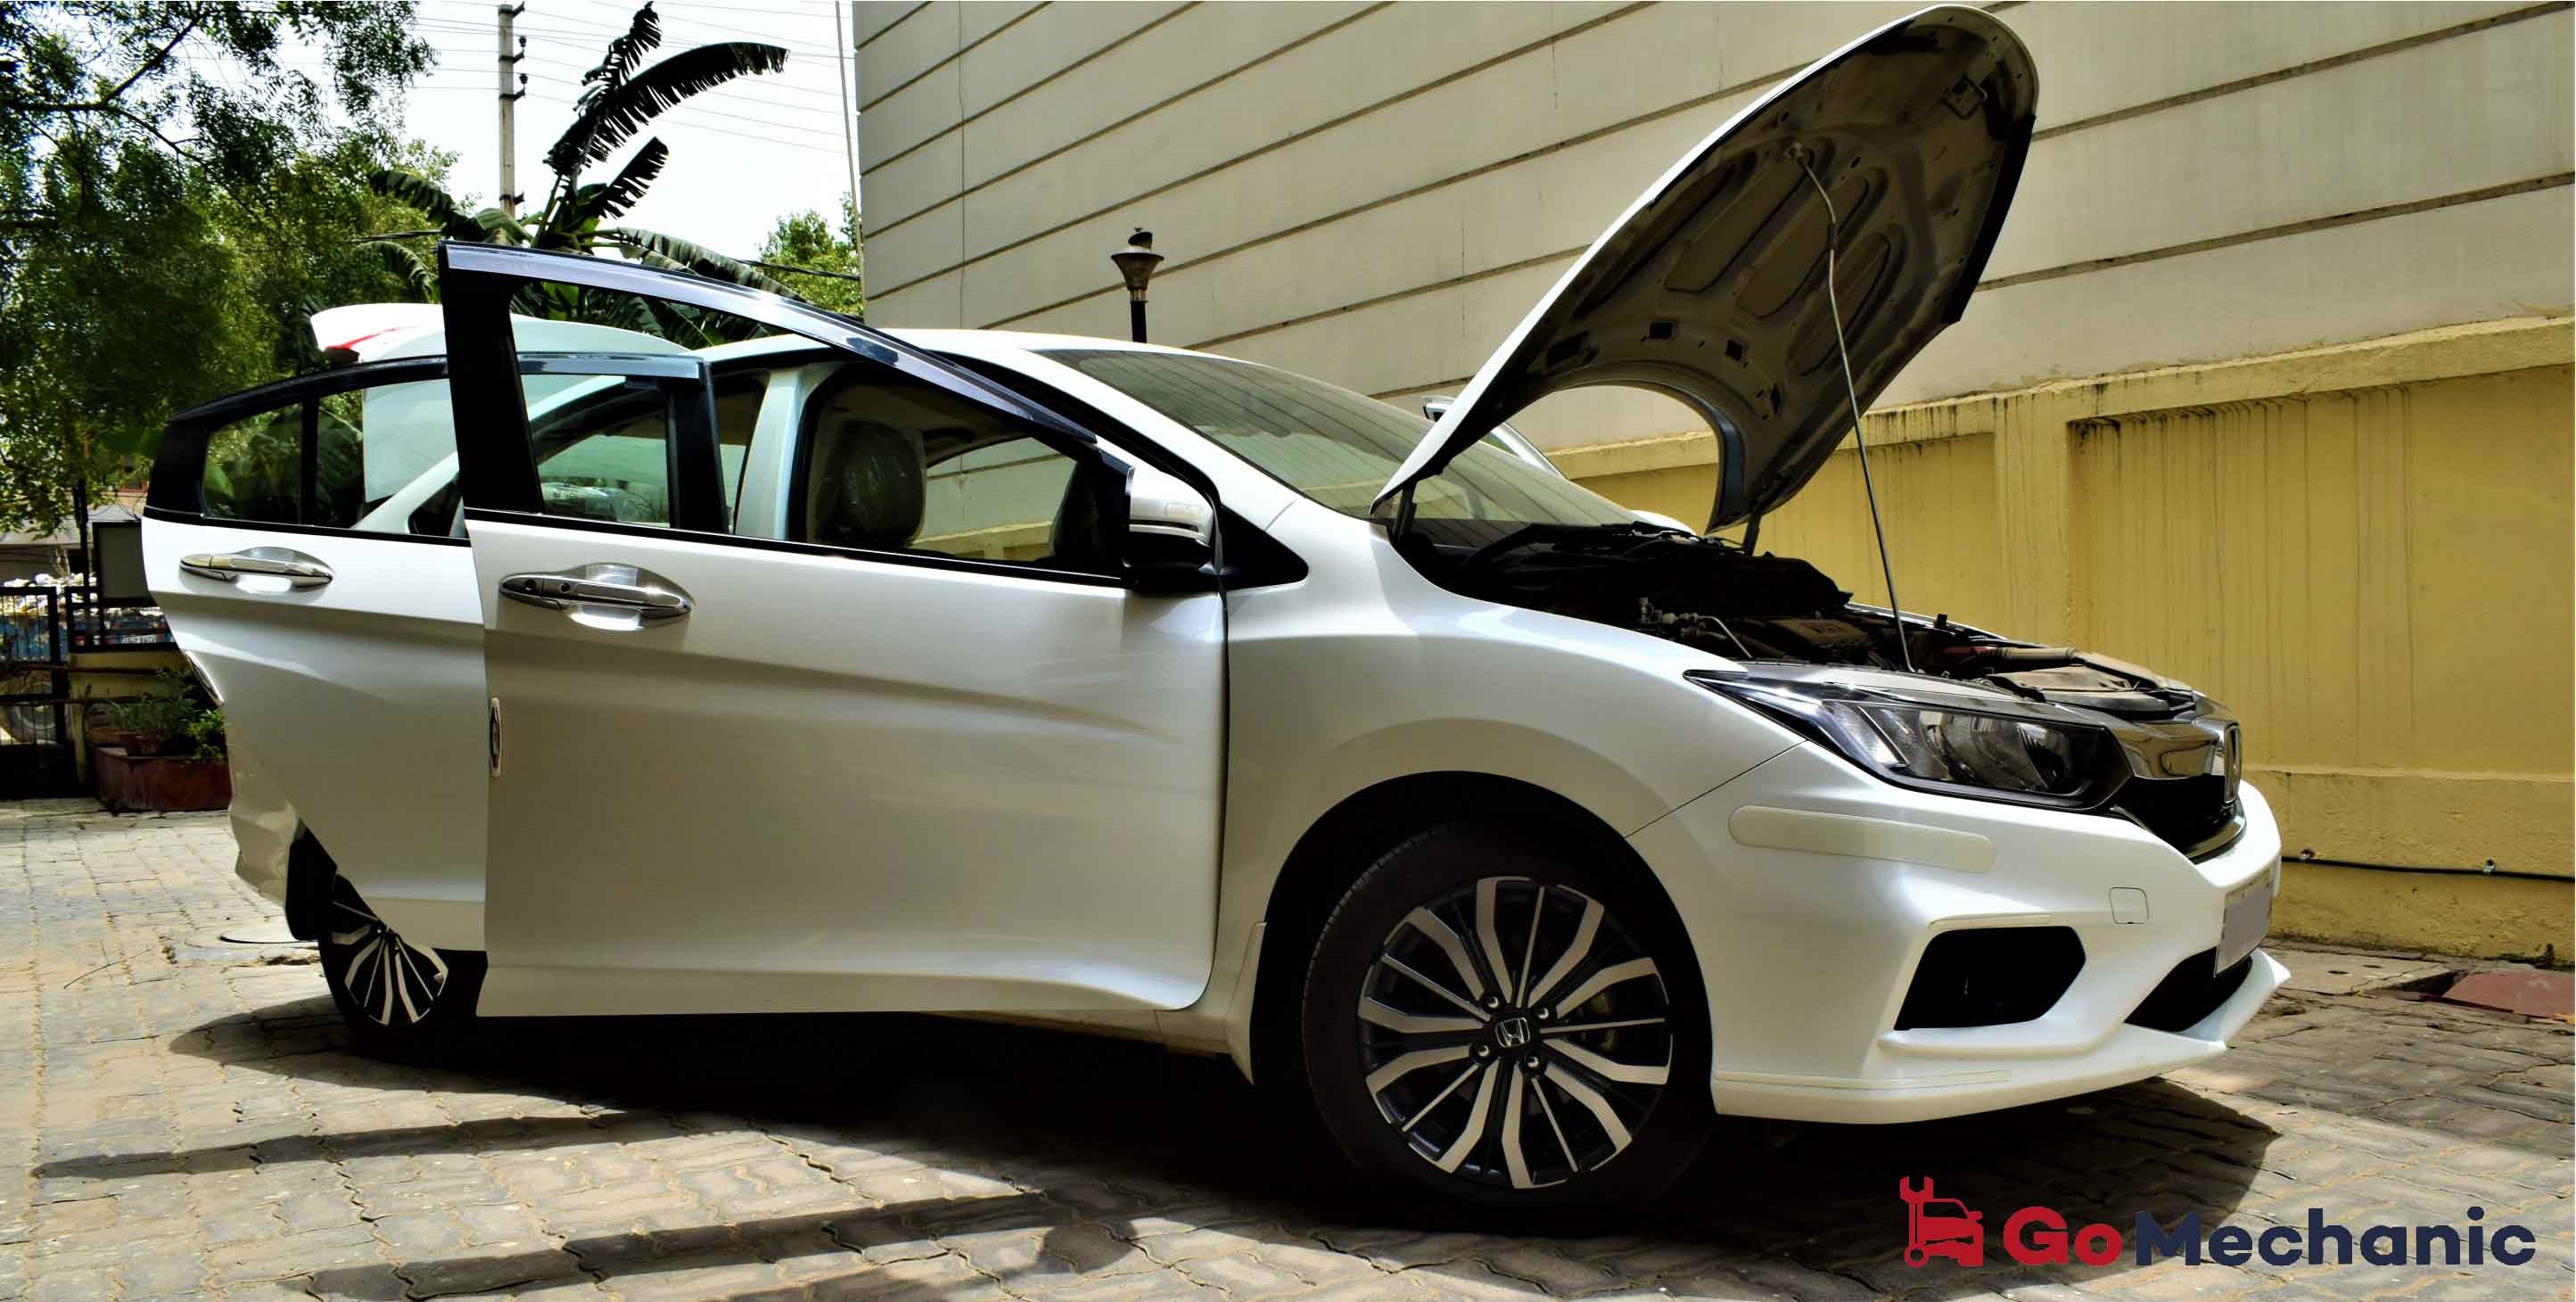
The Inspection
Inspection is the first step towards preventive maintenance. The only requirement for this is your two attentive eyes, that’s all.
Start with the lights; check the headlamps and the fog lamps. Don’t forget the turn indicators, brake lights and reverse lights. Make sure to check the cabin lights, the radio and any electronic accessories.
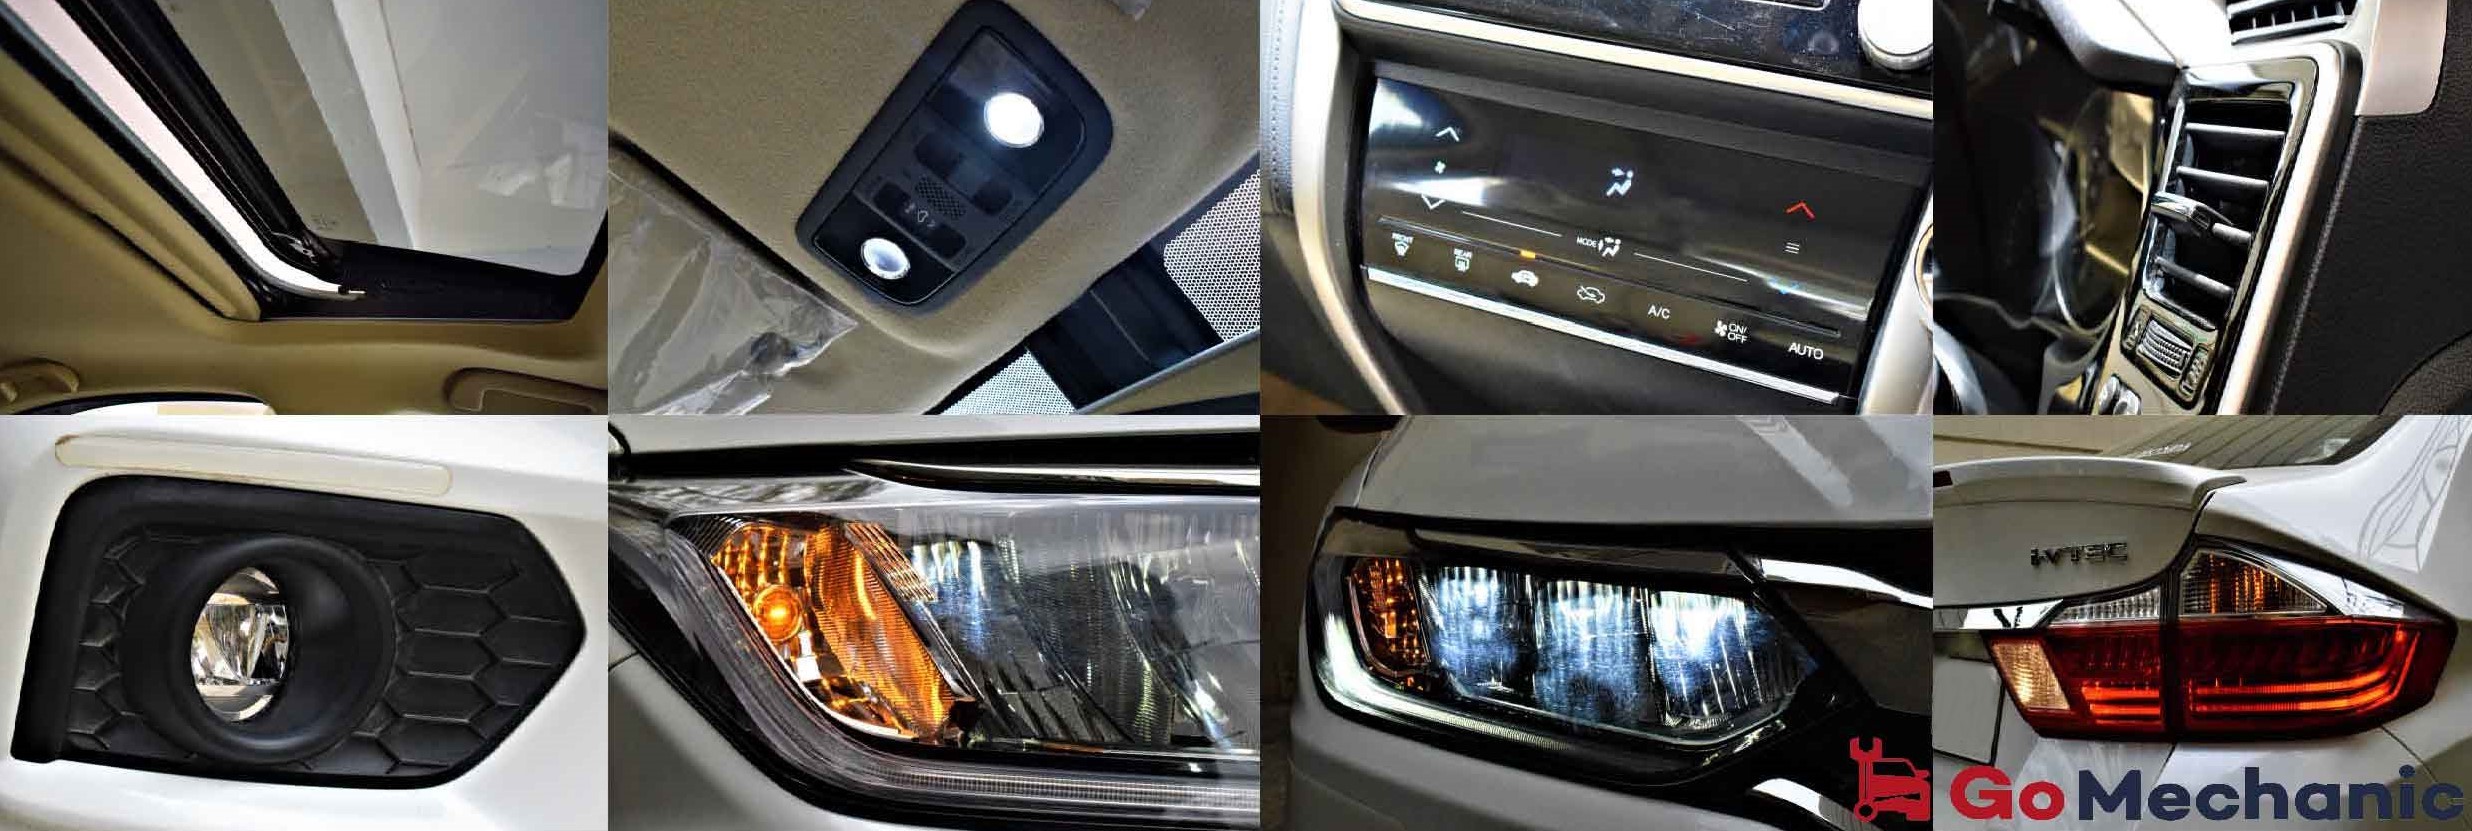
Check to make sure that the door, boot, bonnet latches, and the sunroof are functional.
Finally, take your attention to the dashboard. Start the car and look for any warning lights. Along with this, you should keep an ear out for any unusual noises. Next, turn on the air conditioner and see if it is properly cooling.
After that, turn the steering all the way from left to right and feel for any resistance or noise. You should also take a short drive and test the brake while listening for whining noises (indicator for worn brake pads). While on the ride, go through all the gears to check for any aberrations while shifting.
Now comes the part where you need to act on your findings from the Inspection.
Let’s start easy-
Wiper Fluid Check
This is no joke, wiper fluid check is essential. Topping up the wiper fluid requires little to no effort. Besides, it is as important as everything else in your car.
This is because the last thing you’ll want to do is to run the wipers on a dry windshield. Doing this – we should inform you – can cause some non-repairable damage. Plus replacing the windshield is a costly affair. Take it from us.
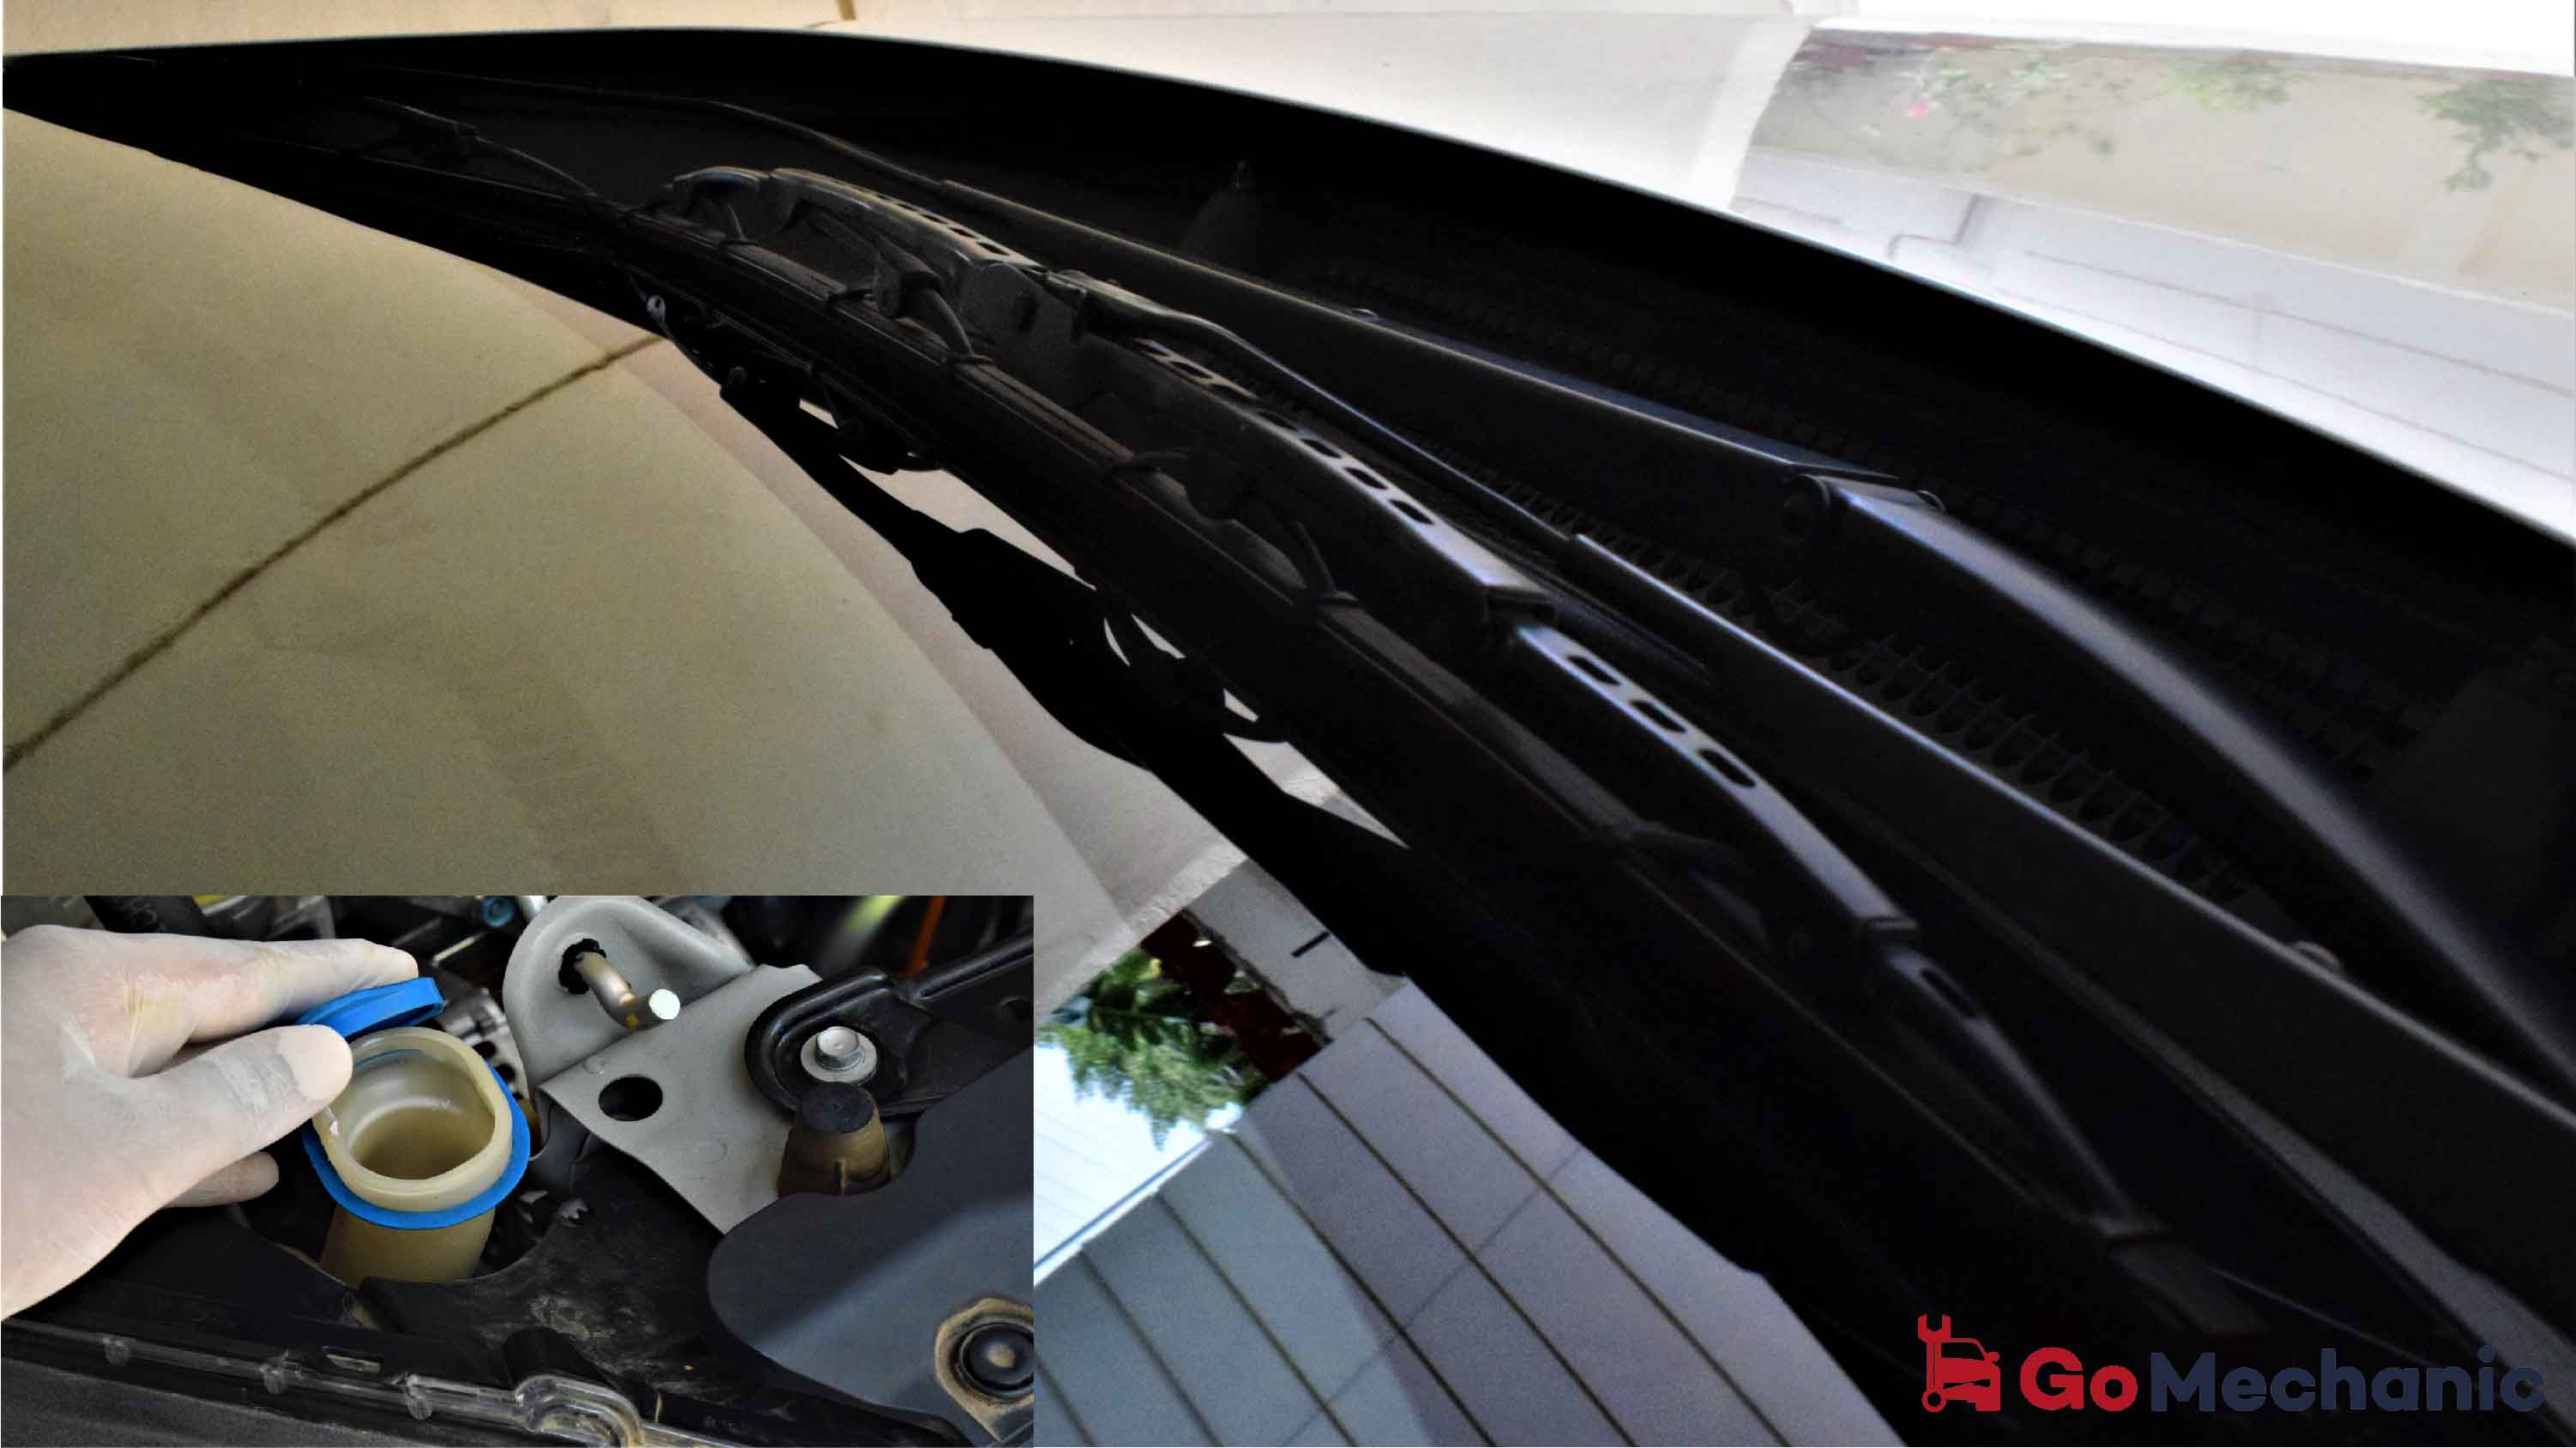
Follow this simple equation:
50% water+50% glass cleaner (any decent brand) = great windshield wiper fluid
Also, check if the wiper blades are intact and replace them as per the manufacturer’s recommendation. So regularly check and top up your wiper fluid.
Engine Oil Check
Put it on the top of your list to check the oil quality and level. Every manufacturer supplies a dipstick with the car engine. You can use this for the oil check.
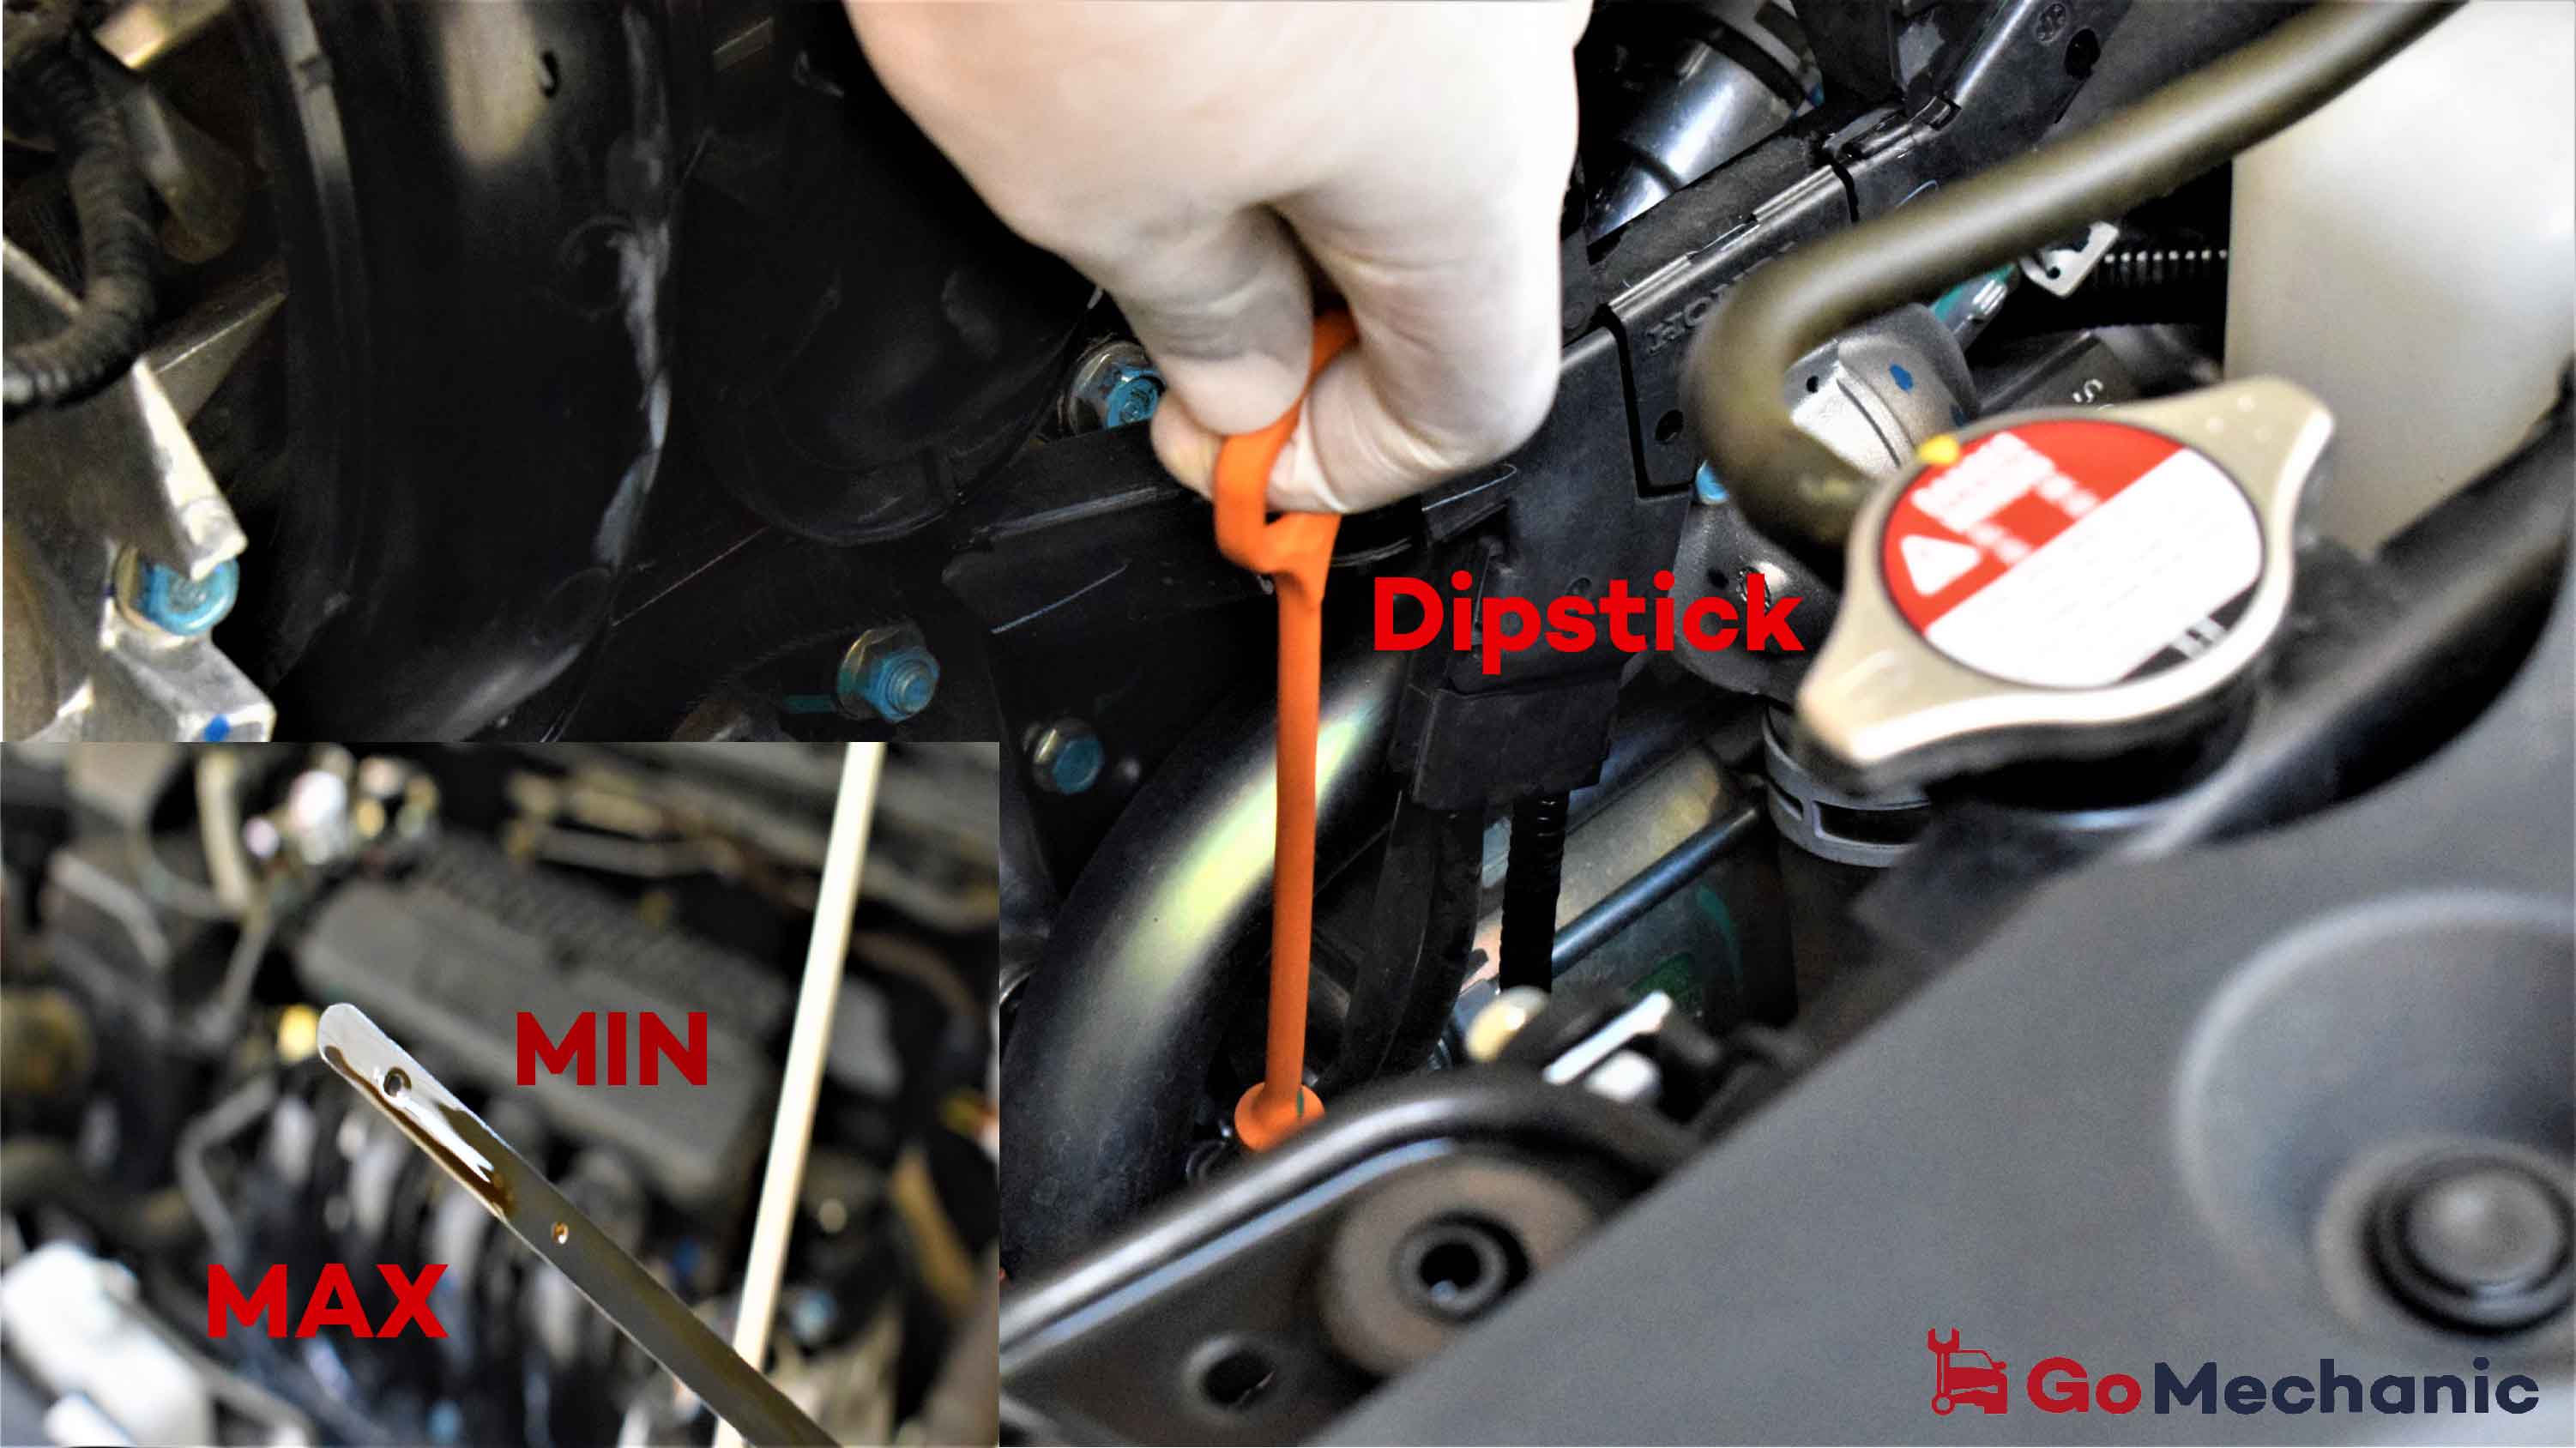
Start with taking out the dipstick and wiping the end of the stick (where the oil residue is) on a rag. Now put the dipstick back in all through. Then pull it out again and take note of the findings.
You will find two notches on the stick marked “MIN” and “MAX”. The ideal spot lies in between the two. When you are at this, also observe the oil viscosity and colour. The oil should be barely runny. About the colour, ideally, it should only have a brownish tinge.
Download the GoMechanic App Now!

Steering / Brake Fluid Check
These two, obvious by their names are responsible for the steering and braking. Our recommendation here for you; check the levels of both and take note if any of them is below the “MIN” mark.
We strongly advise you NOT to do this on your own. This is because this involves corrosive and dangerous chemicals that can cause an injury or a mishap.
Need Help? Book a Comprehensive Service on GoMechanic and we’ll take care of this.
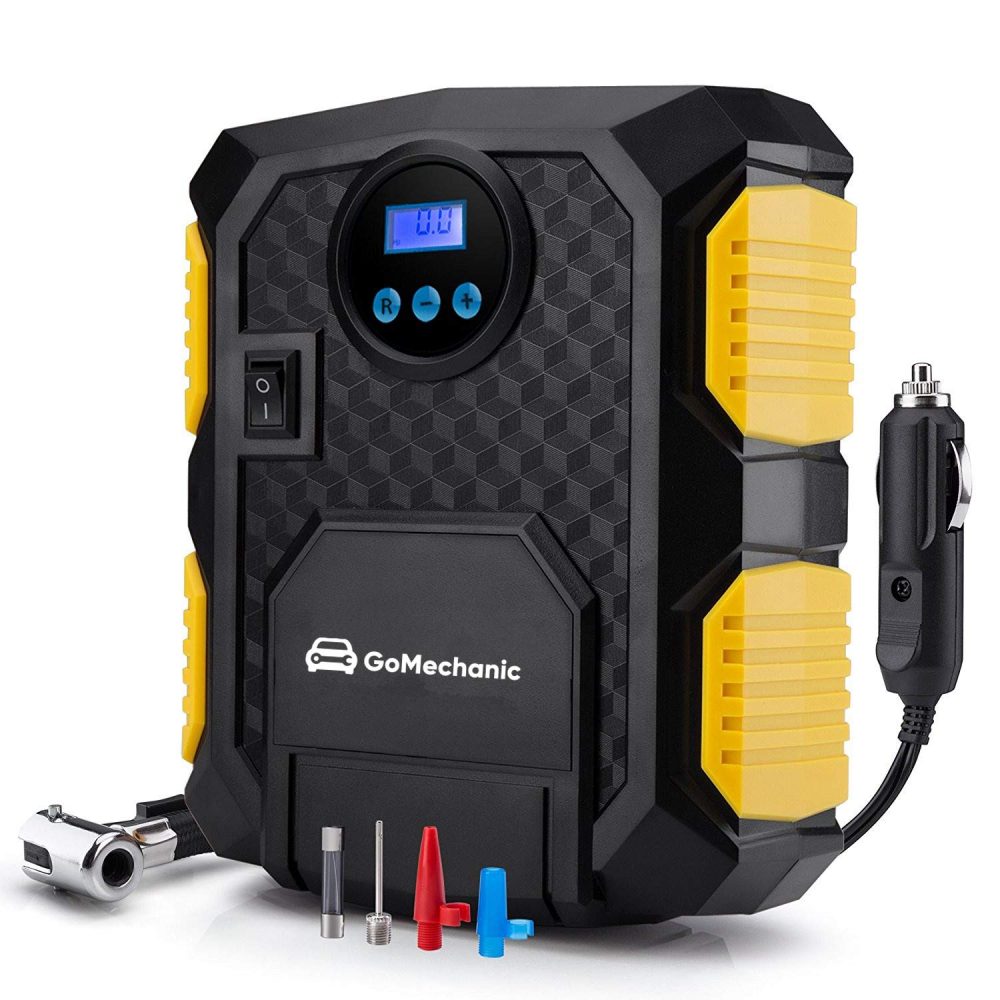
Tyre Check
For checking your tyre you might need to put some money down. We advise you to invest in a Portable Tyre Inflator. This is a handy device that plugs into your cars 12V socket and can inflate a tyre within minutes. Although, this is not a replacement for an air compressor it is but a nifty gadget nonetheless.
So, once you own this piece of equipment, just plug it in the socket. Then fill up to the recommended pressure and that’s about it. This inexpensive investment will keep the tyre pressure in check which in turn will ensure that your car runs fit.
GoMechanic Tip- To keep your Car tyres healthy and prevent it from premature wear. GoMechanic strongly advises getting a periodic tyre rotation.
Know more here
Battery Check
The battery is the heart and soul of all things electronic in your car. Nowadays, most modern cars utilize the “No Maintenance” type battery but that doesn’t mean that they are immune to failure. There can be various issues with the battery which can cause vital electronics to malfunction.
Here’s what you can do to keep your car battery in good shape.
As elementary chemistry taught us, the cell has two terminals, negative and positive. The leads which are hooked to the terminals can suffer from corrosion build up causing poor electrical contact. The solution to the problem is simple. Take a patch of sandpaper (Nos. 80) and simply scour off the deposit on the leads as well as the terminals. Doing this will restore the proper electric contact. Then all the electronics will run well on your car.
Caution– Turn off the ignition before servicing the battery. Always remove the Negative terminal (Black) first when disconnecting and connect the Positive (Red) first when reconnecting the battery.
Make sure to wear a nitrile glove as batteries can leak caustic chemicals.
There you have it. It’s Done!
You have successfully conducted a thorough maintenance job on your Car!
The few hours you put away on a lazy Sunday will make sure your ride stays sharp. And you have saved some money on the go!
Up next: The Interesting History Behind Windshield Wipers In Your Car

Read: The Interesting History Behind Windshield Wipers In Your Car
